

Description
Speakers play a crucial role in our daily lives, whether in our homes, cars, or public spaces. They are responsible for delivering the music, movie dialogues, and various other audio experiences that enrich our lives. However, the quality of sound produced by speakers can deteriorate over time due to dust, dirt, and other contaminants. Regular speaker cleaner is essential to maintain optimal performance and ensure the longevity of your audio equipment.
The Impact of Dust and Dirt
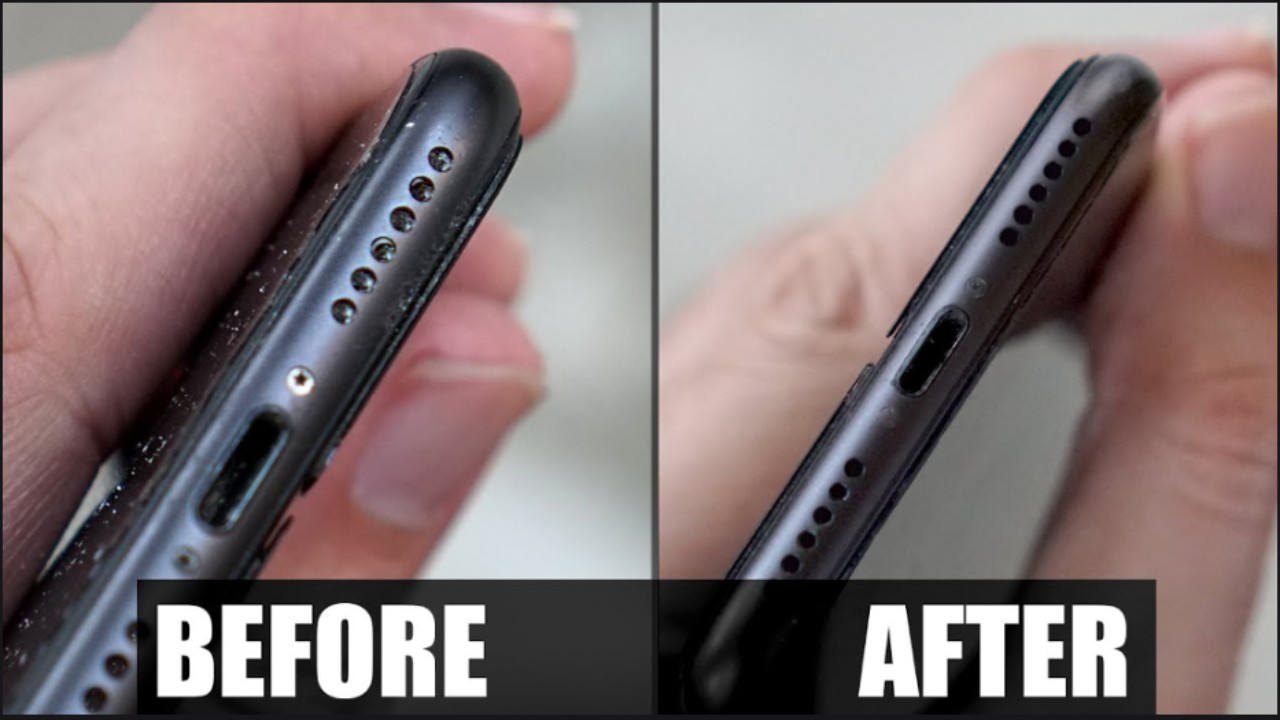
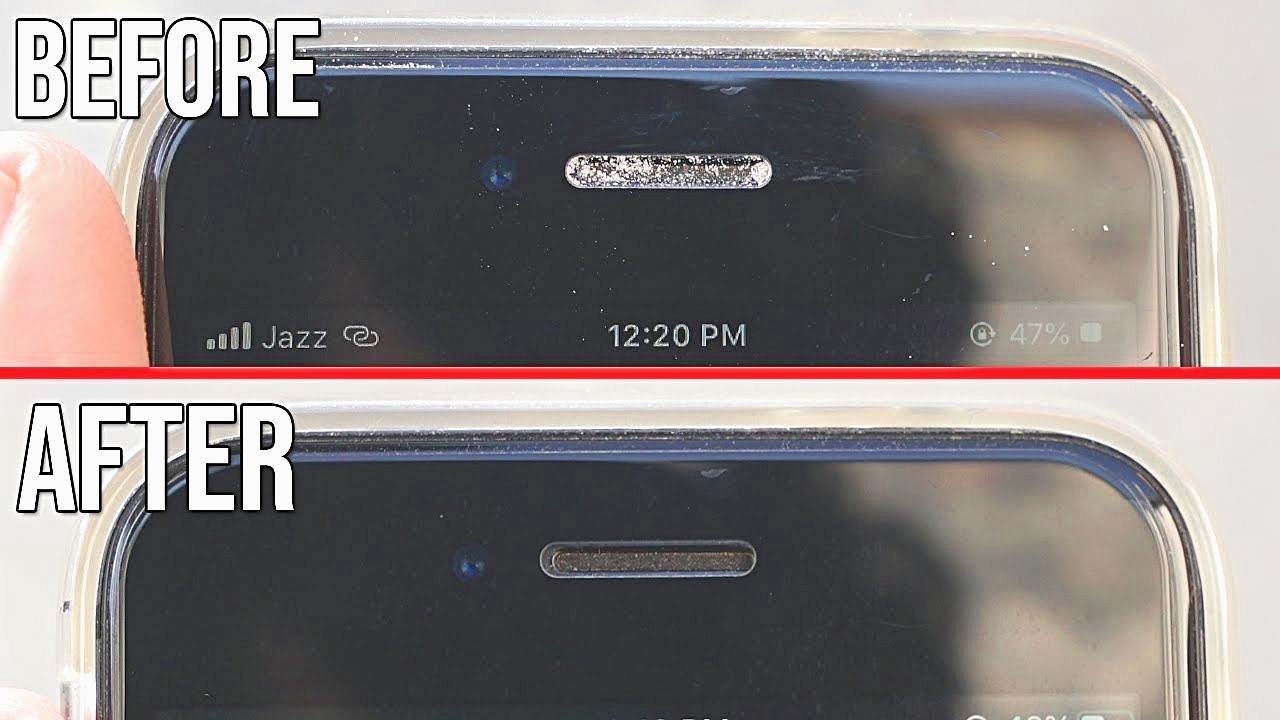
Dust and dirt can accumulate on the diaphragm, cones, and other sensitive parts of your speakers. This buildup can affect the speaker's ability to produce accurate sound. When foreign particles settle on these components, they can disrupt the movement of the diaphragm and cause distortion in sound output. In some cases, excessive dirt can even cause permanent damage to the speaker. To maintain pristine sound quality, regular cleaning is necessary.
Steps for Cleaning Your Speakers
-
Power Off: Before you begin cleaning your speakers, turn them off and disconnect them from the power source. This is essential to prevent any accidents or damage to your speakers during the cleaning process.
-
Dust Removal: Use a soft, clean brush or compressed air to gently remove dust and dirt from the exterior of the speaker. Pay attention to crevices and vents where dust tends to accumulate.
-
Grille Cleaning: If your speakers have removable grilles, take them off and clean them separately. You can use a brush or vacuum cleaner attachment to remove any dust and dirt. For fabric grilles, you can also use a lint roller to pick up fine particles.
-
Driver Cleaning: Gently clean the drivers (the cones and diaphragms) with a soft, dry cloth. Be careful not to apply too much pressure, as these components are delicate. If necessary, lightly dampen the cloth with water or a specialized phone speaker cleaner solution, but avoid using any harsh chemicals.
-
Crossover and Connections: Check the crossover and connectors for dust or dirt. Use compressed air or a small brush to clean these components without causing any damage.
-
Interior Cleaning: If your speakers have ported enclosures or open-back designs, dust can accumulate inside the speaker cabinet. Carefully vacuum the interior to remove any debris.
-
Reassemble and Test: After cleaning, reassemble the speakers and connect them to your audio source. Test the speakers to ensure they sound as good as new.